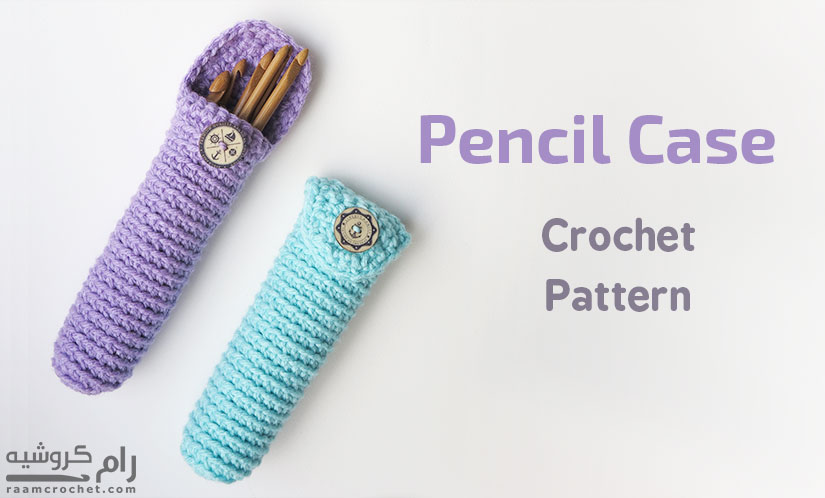
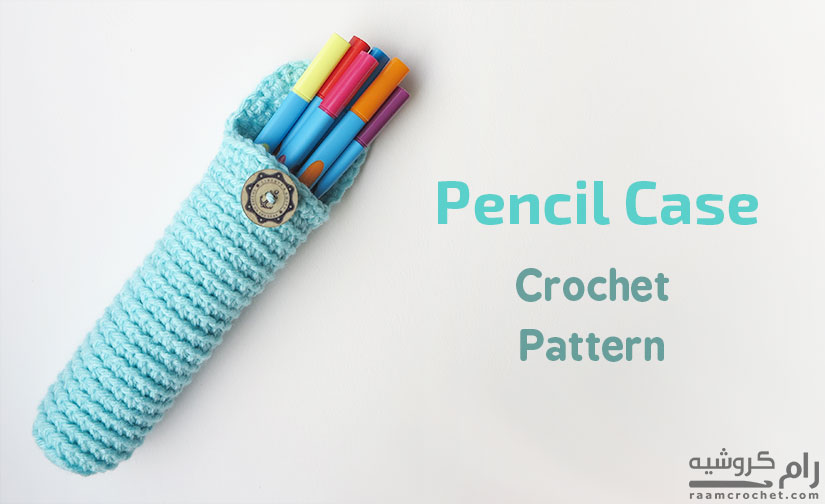
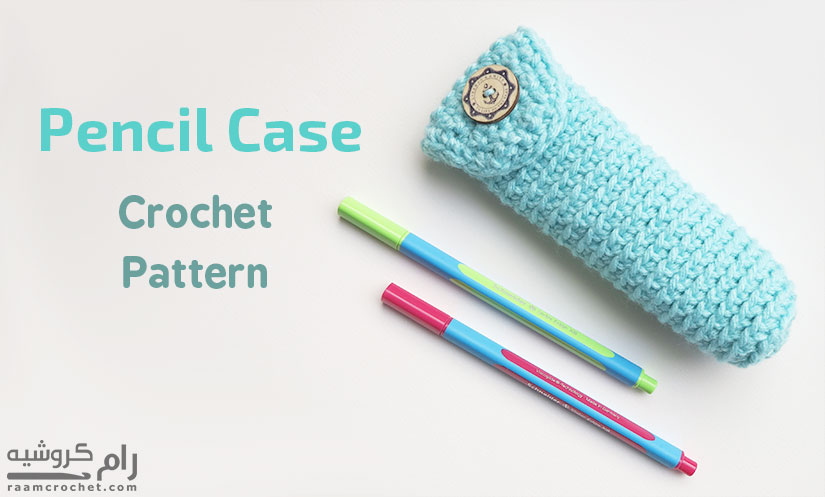
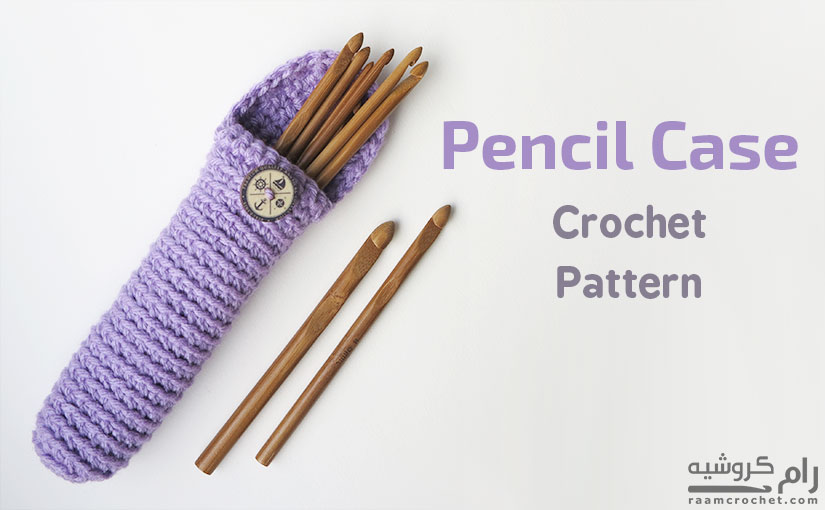
Crochet Pencil Case using one color and single crochet to make it. It doesn’t take time to make and is actually really practical for gathering and keeping your pencil and a lot of other things like your crochet hooks. We’ll be working in round for the case and in row for the lid. You’ll need a button with suitable size for the case.
Designer: Nada
Skill level: Easy/Intermediate
Size: Free
Materials:
Any kind of medium thickness yarn with suitable crochet hook
In the pics you see I used 3 mm thick yarn with 5 mm crochet hook
Button
Needle
Terms:
MR – Magic ring
st – stitch
sl st – slip stitch
ch – chain
sc – single crochet
sc2tog – 2 single crochet together
BL – back loop only
Notes:
You can adjust the length of your case by making more or less rounds as you’ll see in the pattern.
Directions:
The Case: We’ll be working in rounds.
R 1: MR, 6 sc. (6 sc)
R 2: 2 sc each sts. (12 sc)
R 3: *2 sc, sc* repeat until the end of the round. (18 sc)
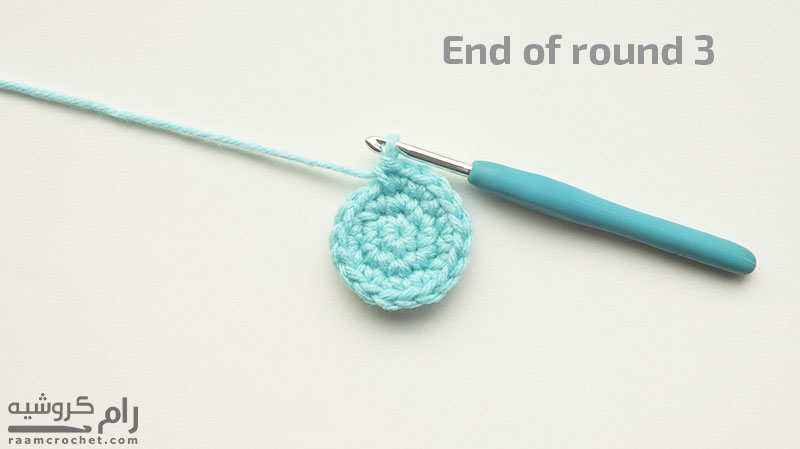
R 4: Sc BL each st. (18 sc)
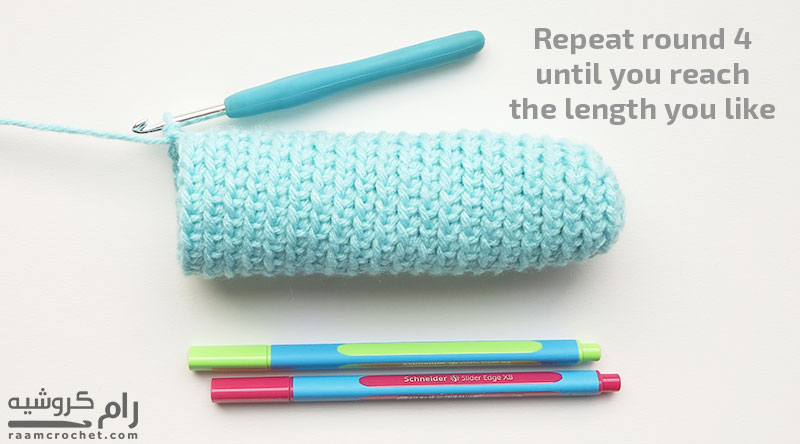
R 5 – 23: Repeat R 4 or until you reach the length you want. Sl st next st. Do not FO. (18 sc)
The Lid: We’ll be working in rows.
Row 1: Ch 1, turn, sc next 7 sts. (7 sc)
Row 2 – 5: repeat Row 1. (7 sc)
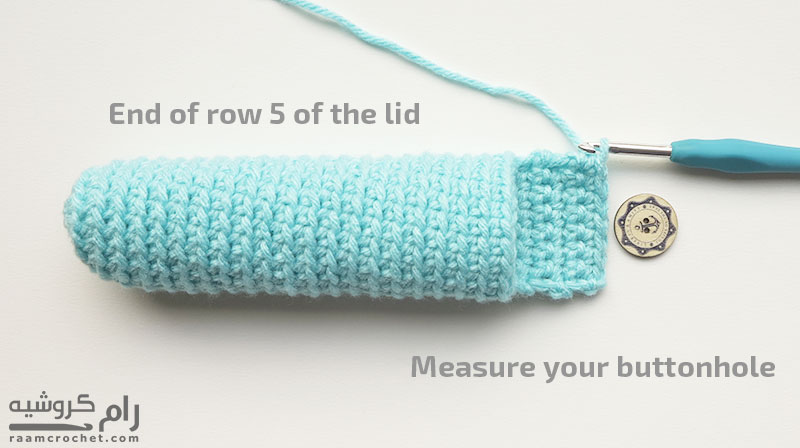
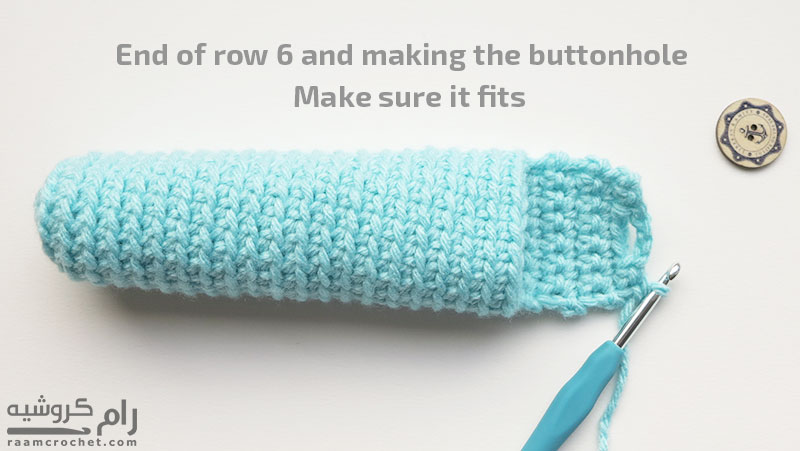
Now we’ll be making the buttonhole.
Row 6: Ch 1, turn, sc next 2 sts, ch 3, skip next 3 sts, sc next 2 sts. (4 sc)
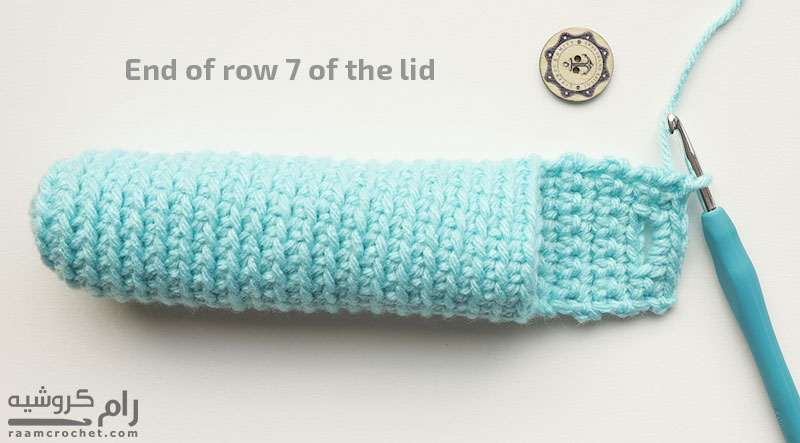
Row 7: Ch 1, turn, sc next 2 sts, 3 sc next chain space, sc next 2 sts. (7 sc)
Row 8: Ch 1, turn, sc2tog, sc next 3 sts, sc2tog. (5 sc)
Row 9: Ch 1, turn, sc2tog, sc next st, sc2tog. Do not FO. (3 sc)
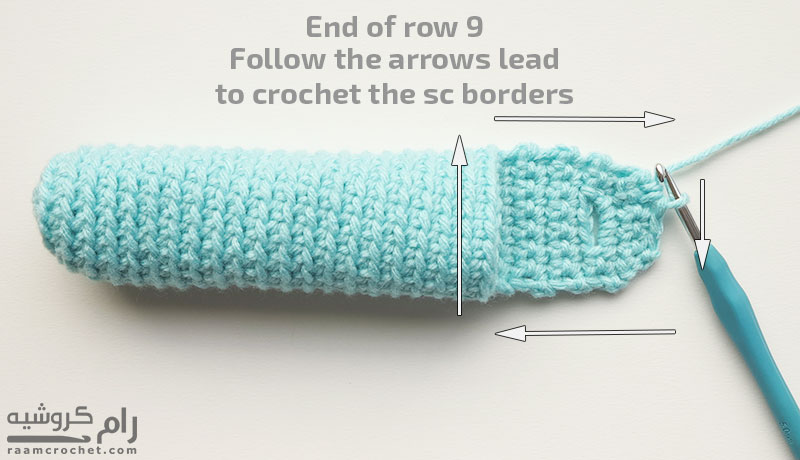
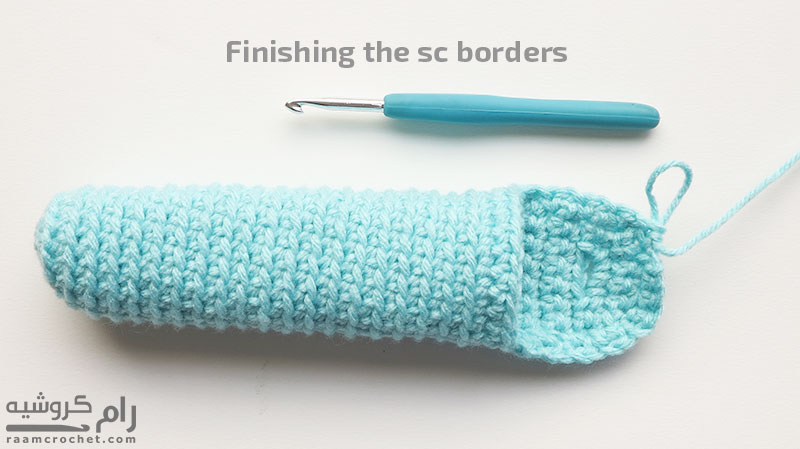
Now we’ll be working sc around the outer edge of the lid and case as shown below.
– Ch 1, turn, sc next 3 sts.
– Ch 1, sc evenly down the side of the lid.
– Sc evenly across the upper edg of the case as shown in the pics. (11 sc)
– Sc evenly up the other side of the lid.
– Ch 1, sl st next st.
– FO leaving 5 to 6″ long tail to sew the button in place.
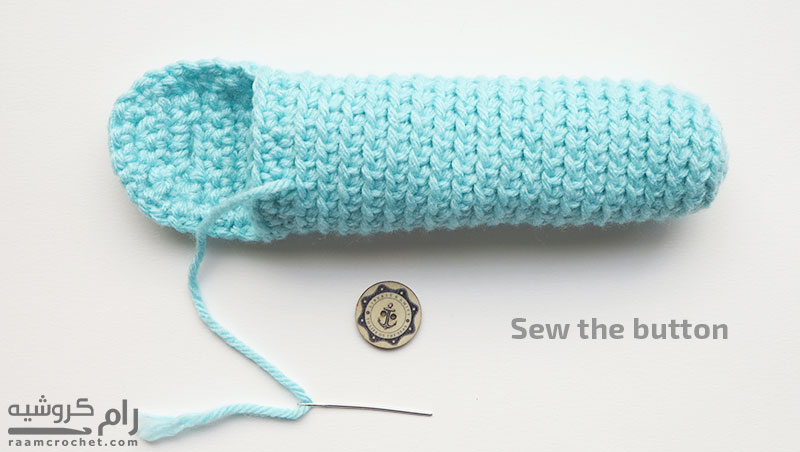
Finishing:
Locate the right place for the button and sew it.
Share your final products with us at #raamcrochet on any social media.
List of free English crochet patters
Terms of Use
Contact Us