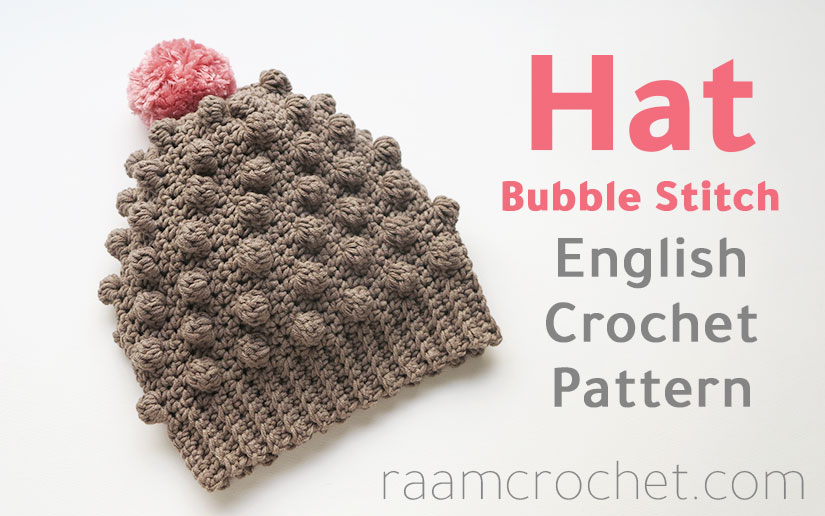
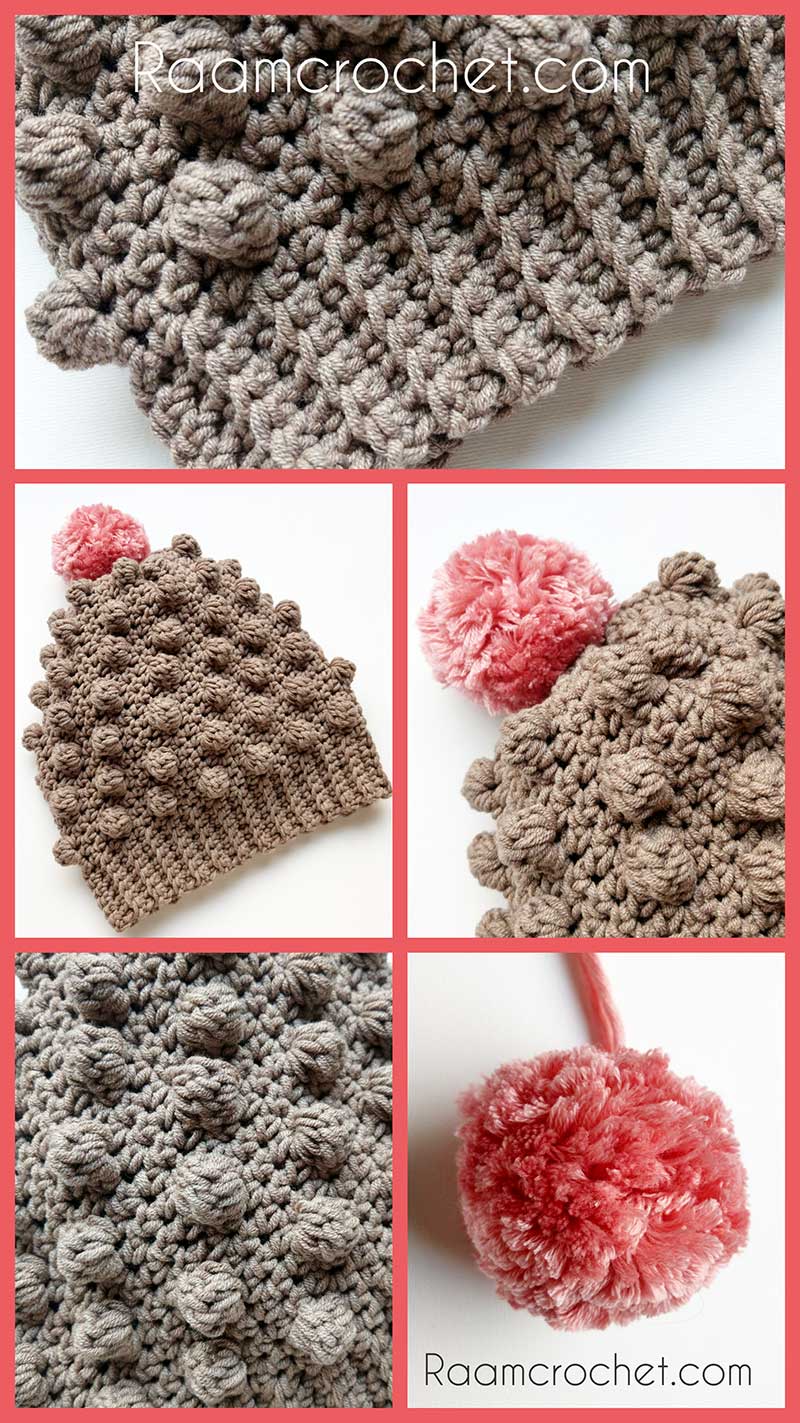
Crochet bubble stitch hat that can be make to any size. I provided a specific directions for the adult size I made and how to adjust them to make even a baby hat. It’s very cute with the pom pom.
Designer: Nada
Skill level: Easy / Intermediate
Size: Adult and can be resized easily
Materials
Any kind of yarn that is suitable for hats with suitable crochet hook
I used (alize cotton gold plus) with 6 mm crochet hook
Needle
Pom pom
Terms
st – stitch
sl st – slip stitch
ch – chain
sc – single crochet
hdc – half double crochet
dc – double crochet
Bubble st – Bubble stitch (5 dc bubble st)
BL – back loop only
FL – front loop only
Notes
1. This pattern can be resized easily to any size either for adults or children.
2. For the adult size follow the instructions and use the same yarn and hook size.
3. The beginning chains determines the hat length and the number of rows determines the circumference of the hat.
4. The beginning chains should equal any number of multiples of 6 (30 or 36 or 42… etc)
Directions
Please read the notes before you start crocheting.
R 1: Ch 30 (or multiples of 6), hdc 2nd ch from the hook, hdc in each st until last 6 sts, sc in each of next 6 sts.
R 2: Ch 1, turn, sc BL in each of next 6 sts, work on both loops now, sc, bubble st, *sc in each of next 5 sts, bubble st* repeat until the end of the row, we’ll have 3 remaining sts, work sc in each of them.
R 3: Ch 1, turn, hdc in each st until last 6 sts, sc BL in each of next 6 sts.
R 4: Ch 1, turn, sc BL in each of next 6 sts, work on both loops now, sc in each of next 4 sts, *bubble st, sc in each of next 5 sts* repeat until the end of the row, we’ll have one remaining st, work sc in it.
R 5: Ch 1, turn, hdc in each st until last 6 sts, sc BL in each of next 6 sts.
Remaining Rows: Repeat from 2 to 5 (12 more times) or until you reach the size you like. Do not crochet row 5 in last repeat. Do not FO.
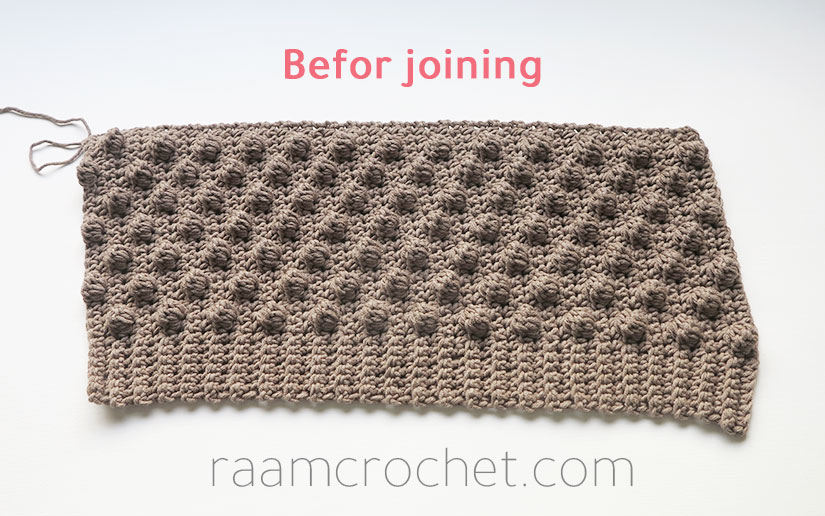
Closing the hat
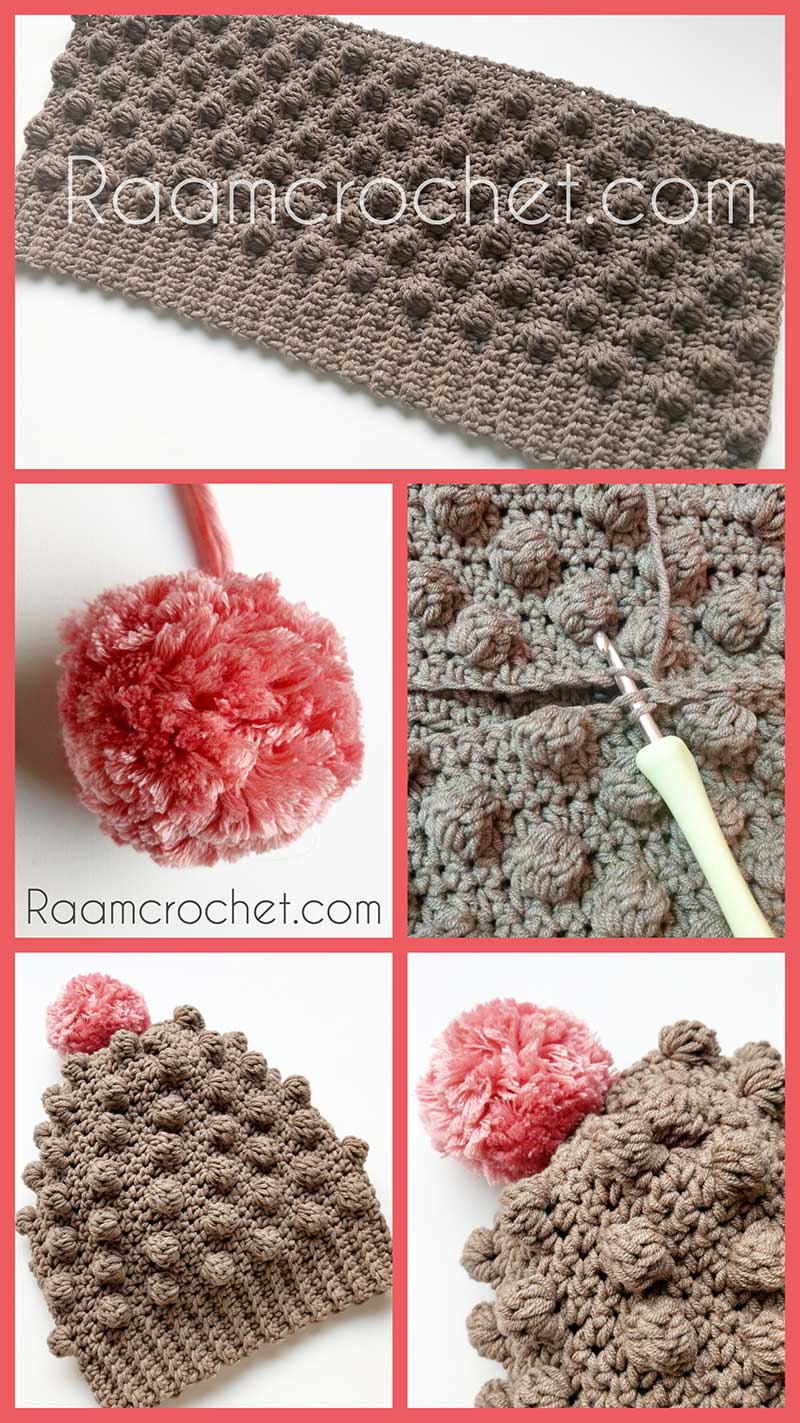
To join the two sides of the hat, place the two sides together with the right side of the bubbles facing out.
Sl st by inserting the hook in FL of first st of the first side then in one loop of the other side. Repeat until you close the side. FO and weave in ends.
Cut a piece of yarn and use the needle to gather and sew the opening top of the hat. FO and weave in end. Sew the pom pom.
Share your final products with us at #raamcrochet on any social media.
List of free English crochet patters
Terms of Use
Contact Us