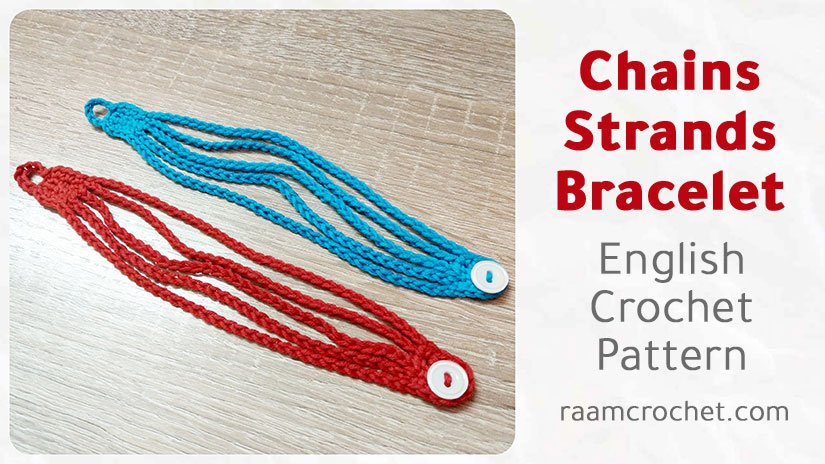
Crochet chains strands bracelet. You can make this bracelet in any size you like easily. For best results use cotton thread or thin cotton yarn. You also will be needing one button.
Designer: Nada
Skill level: Easy
Size: Free
Materials
Cotton thread or thin cotton yarn with suitable crochet hook
Needle
Button
Terms
st – stitch
sl st – slip stitch
ch – chain
sc – single crochet
Special terms
Invisible slip stitch/Invisible join
Notes
This pattern will be worked in rounds but I’ll divide it into four parts with pics.
Part one will contain two line of chains, but the other part will contain one line of chains each.
Crochet Chains Strands Bracelet
Directions
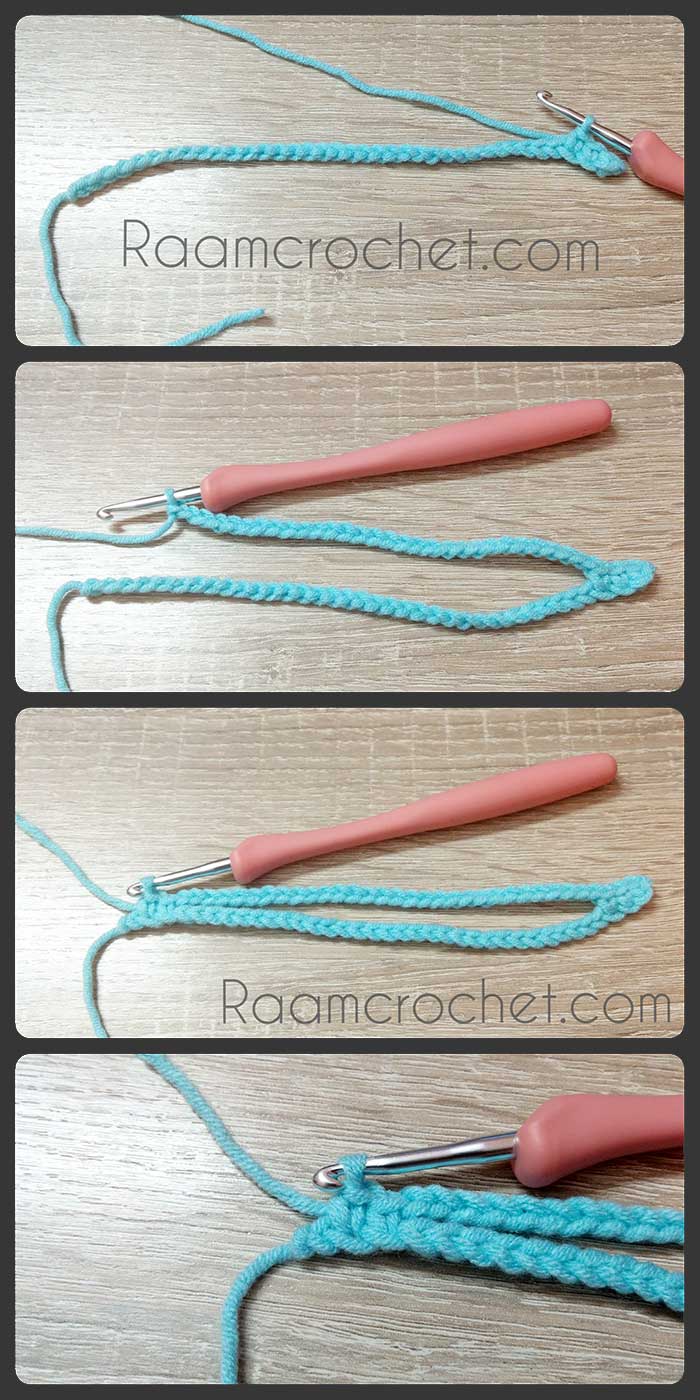
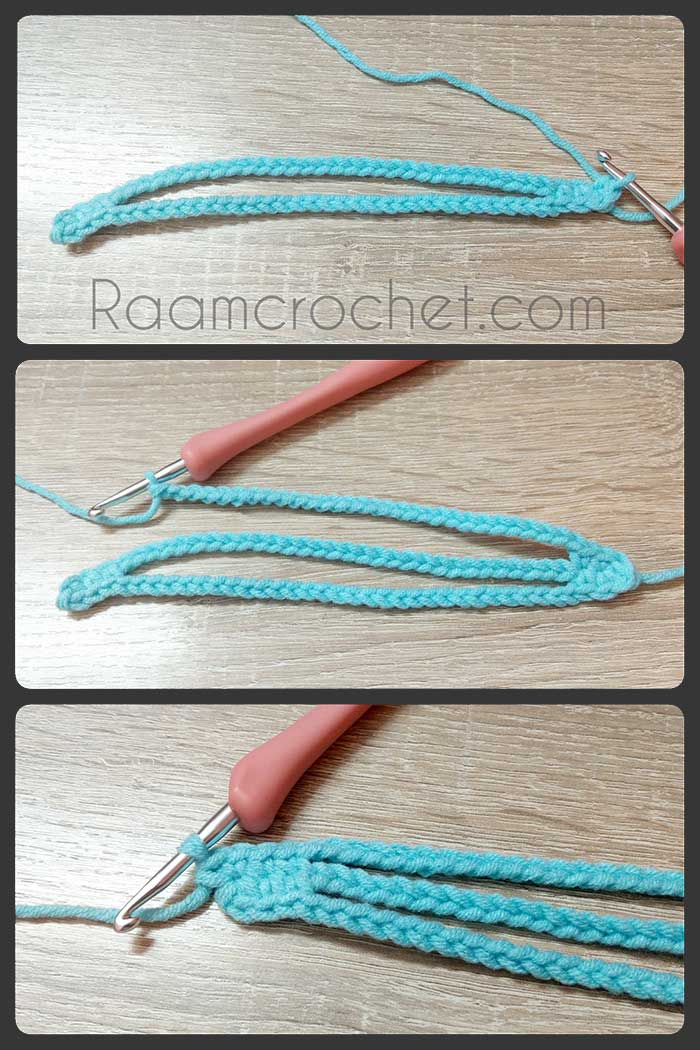
Part one
Number of chains the size of your wrist, sc 2nd ch from the hook, sc in each of next 2 sts.
Crochet number of chains same as the beginning chains minus 7.
Skip next line of chains until you reach the last 3 chains.
For those last 3 chains crochet the following, sc in each of next 2 chs, 3 sc last ch.
See next pic.
Part two
Do not turn, we’ll be working on the other side of the beginning chains.
Sc in each of next 2 sts.
Crochet number of chains same as the beginning chains minus 7.
Skip next line of chains until you reach last 3 sts.
Sc in each of next 2 sts, 2 sc next st.
See next pic.
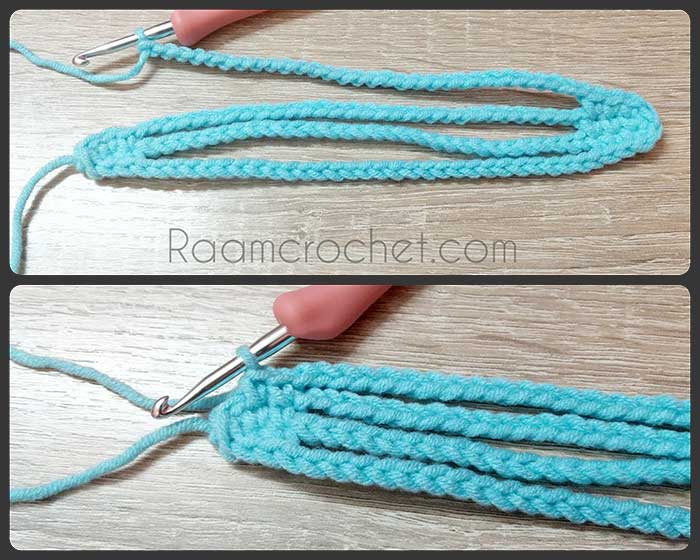
Part three
Do not turn, we’ll be working on the other side.
2 sc next st, sc in each of next 2 sts.
Crochet number of chains same as the beginning chains minus 7.
Skip next line of chains.
Sc in each of next 2 sts, 2 sc in each of next 3 sts, sc in each of next 2 sts.
See next pic.
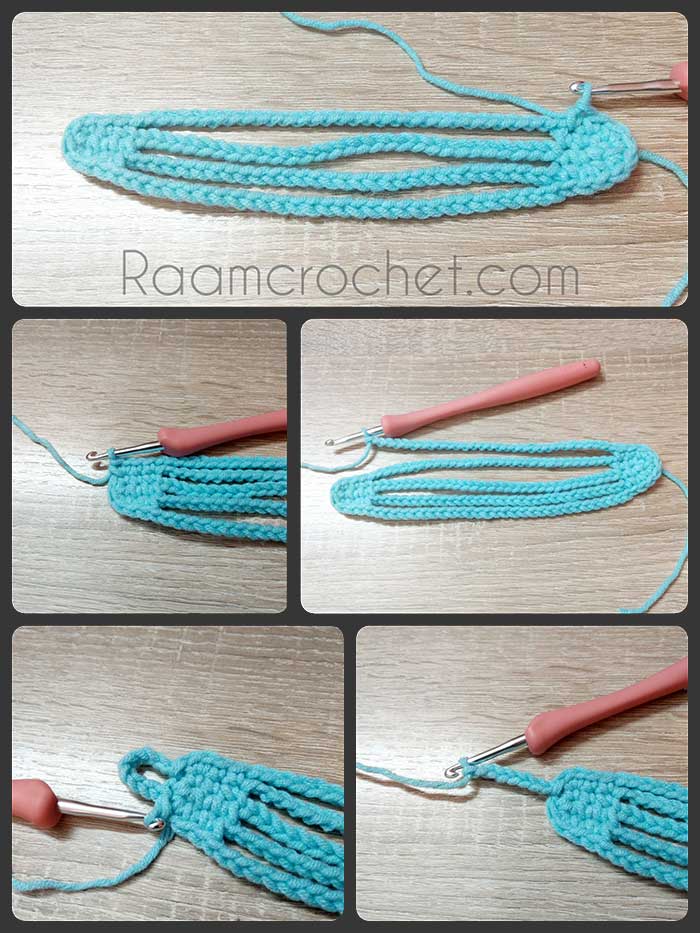
Part four
Crochet number of chains same as the beginning chains minus 7.
Skip next line of chains.
Sc in each of next 2 sts, 2 sc next st.
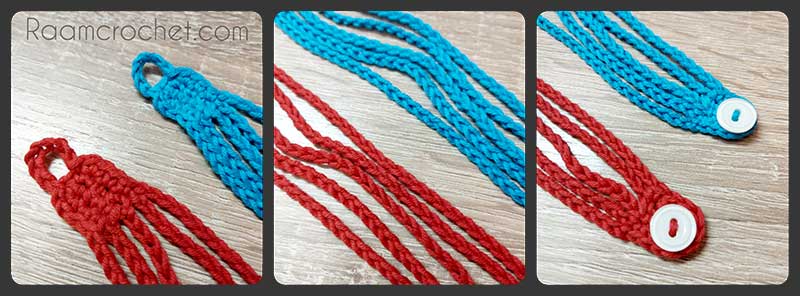
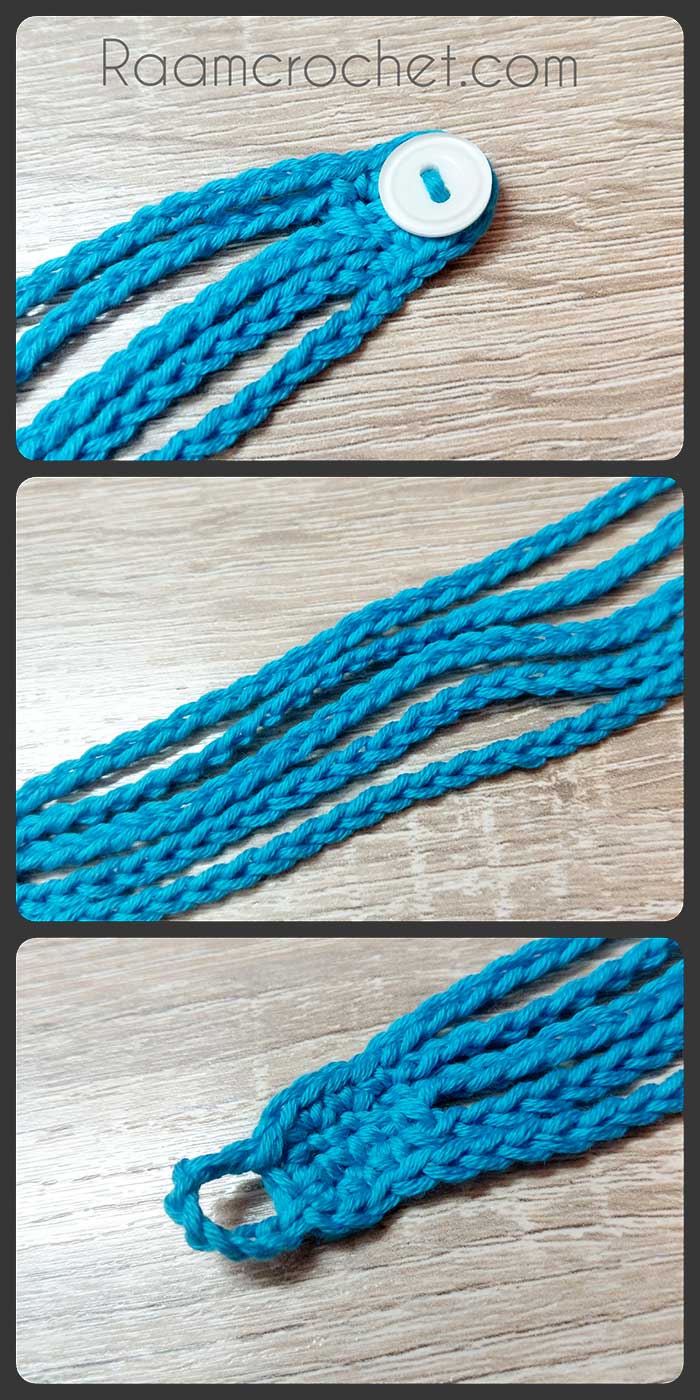
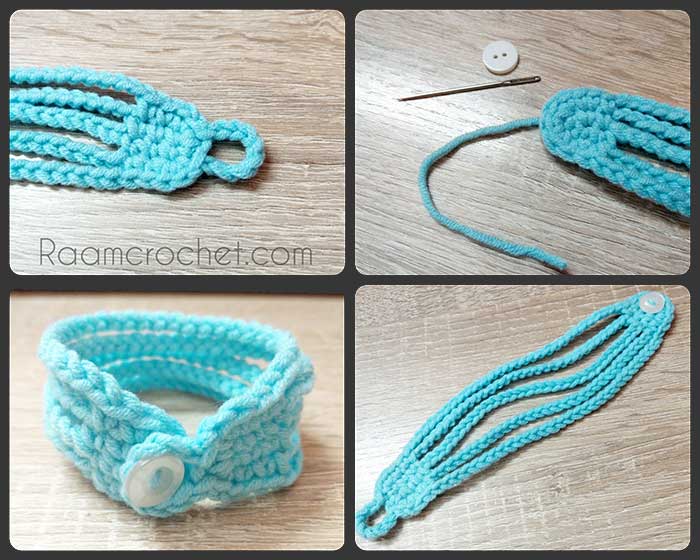
Now we’ll work the button loop, sl st next st, number of chains the size of your button, sl st in each of next 2 sts.
FO and weave in end.
See next pic.
Finishing
Sew the button on the other side of the loop and you’re done!
Share your final products with us at #raamcrochet on any social media.
List of free English crochet patters
Terms of Use Contact Us