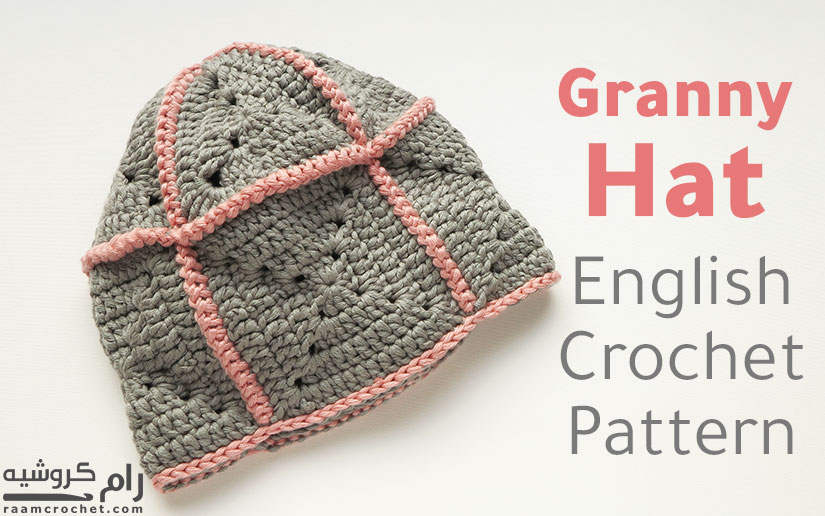
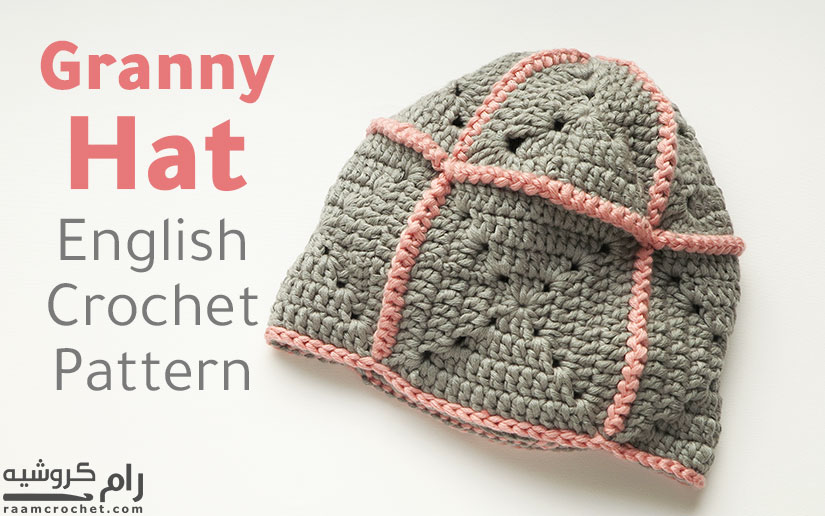
Crochet granny hat with unique design that can be made to any size you like. I only used two colors in this hat but you can use a variety of colors as you do in granny squares and triangles.
Pattern info
This pattern was designed last year and I wanted to make more testing for it. Unfortunately I hadn’t have the time and I didn’t want to leave it unpublished. That’s why I’m sharing it now and I’ll add more info whenever I do more work on it in another post.
Designer: Nada
Skill level: Intermediate
Size: Free
Materials
Any kind of yarn suitable for hats
Crochet hook
Needle
Terms
MR – Magic ring
st – stitch
sl st – slip stitch
ch – chain
sc – single crochet
hdc – half double crochet
dc – double crochet
tr – treble crochet
FL – front loop only
Special terms
Invisible slip stitch/Invisible join
How to choose your size
* You need to crochet 5 granny squares all of them the same size.
* Join the squares along side each other to make a long rectangle.
* Wrap the rectangle around your head, this is the lower half of the hat.
* Readjust the sizing by making the squares larger or smaller.
* The triangles should always have one less round than the squares.
* If the squares are 4 rounds, the triangles should be 3 rounds.
* The square and triangle chart pattern is here.
* The triangle written pattern is here.
What stitches to join
* We’ll use a decorative stitch that I used before in other projects.
* To join two pieces together, sl st through both loops of each layer, ch 1, sl st, ch1, repeat until you finish.
* You can use a simple sl st around if you like.
Crochet Granny Hat
Directions
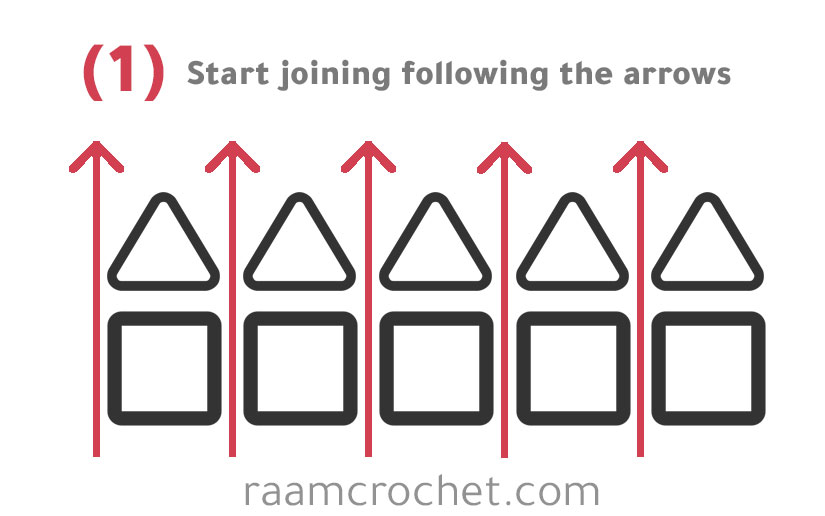
* We need 5 squares for the lower part of the hat and 5 triangles for the upper part.
* Refer to the previous paragraphs for sizing and joining stitches I used.
* Start joining vertically following the arrows you see in next pic.
* When joining vertically I didn’t join in the corners chains spaces.
* Use remaining tails to sew the upper gap close.
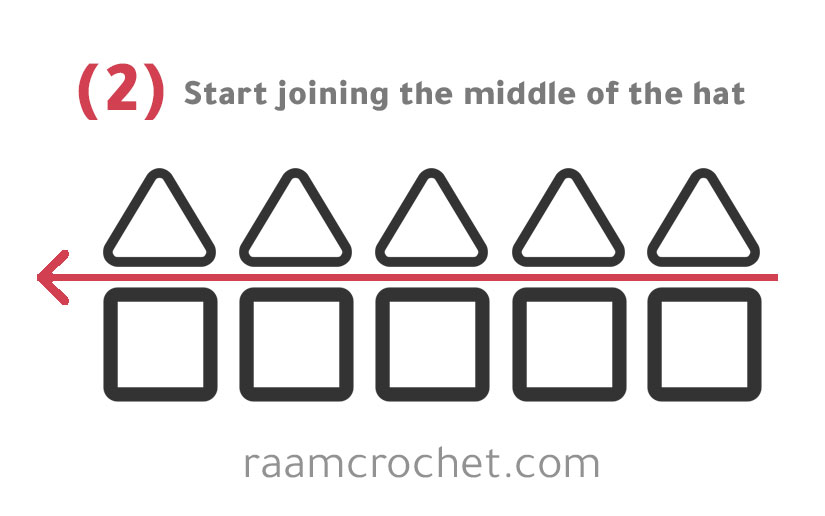
* After that start joining along side the horizontal line as you see in next pic.
* When joining this line I did join in the corner chains spaces as a normal stitch.
The hat is short
My hat length was good but if yours is short you can add a round or tow at the bottom of the hat before edging.
The edge
* I used a simple slip stitch to sew along side the lower edge of the hat.
* Hold the hat with the upper part towards you.
* Crochet slip stitch in each stitch using both loops and slip stitch in each ch sp.
* FO and weave in all ends.
Share your final products with us at #raamcrochet on any social media.
List of free English crochet patters
Terms of Use Contact Us