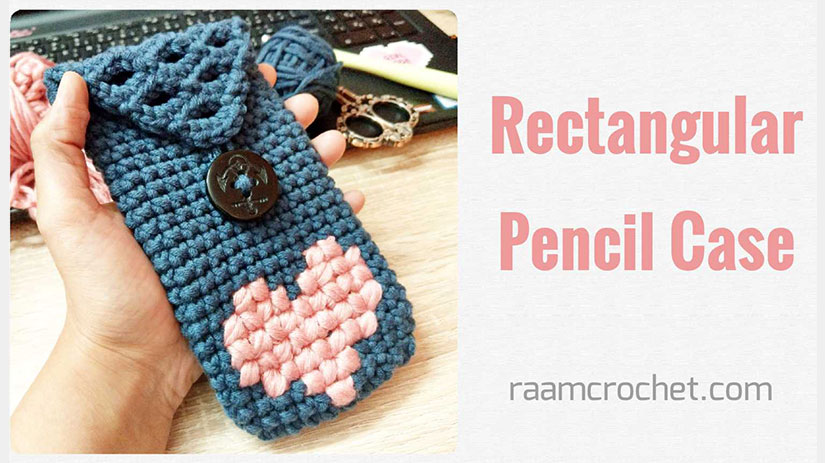
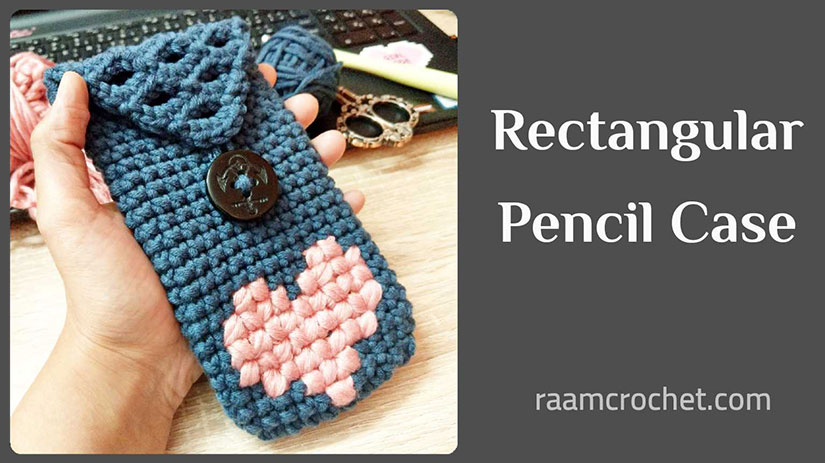
I’ve always wanted to make this crochet rectangular pencil case. And since and learned to do the cross single crochet I decided to give a try. I also manged to design a cute lid that ended up really nice.
Designer: Nada
Skill level: Easy / Intermediate
Size: Free
Materials
Thick to medium yarn with suitable crochet hook
We need two colors one for the case the other for the embroidery
Needle
One large button
Terms
st – stitch
sl st – slip stitch
ch – chain
sc – single crochet
FL – front loop
Special terms
For the pencil case I used the cross single crochet. You can use the regular single crochet but this one is more solid and sturdy in addition to a nice look.
Notes
You can change the size by adding more chains at the beginning and more rounds.
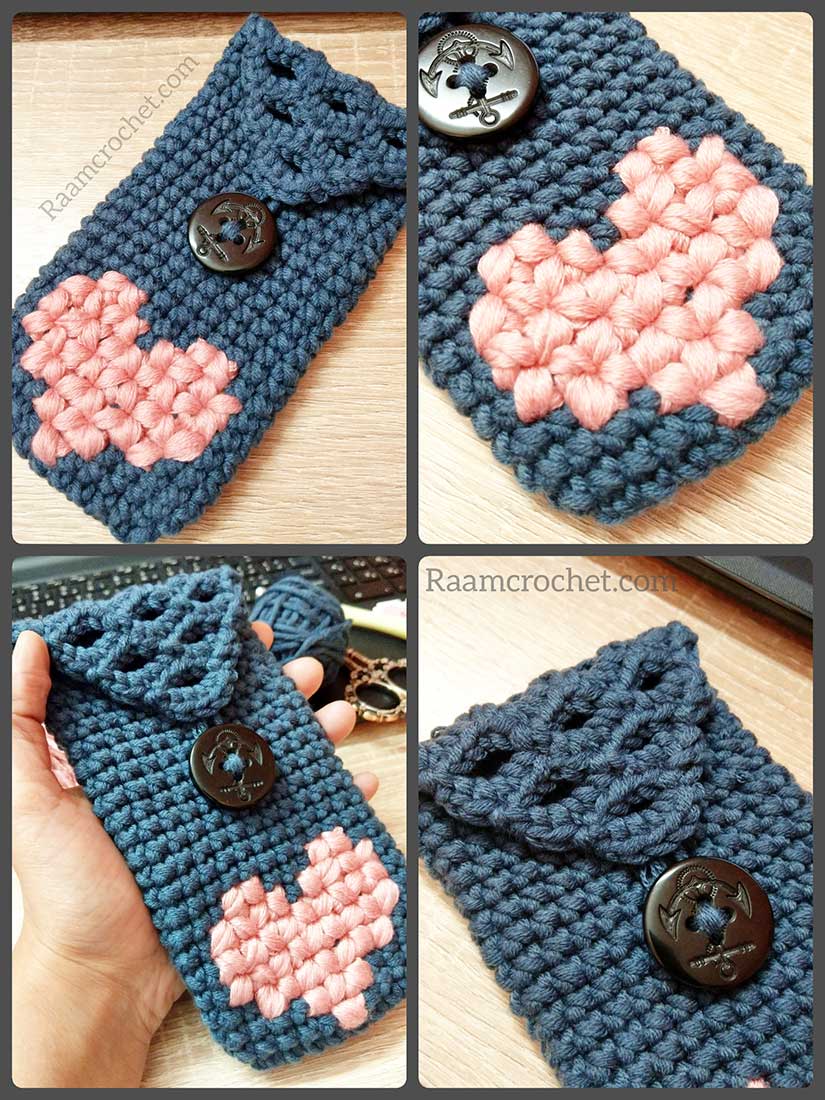
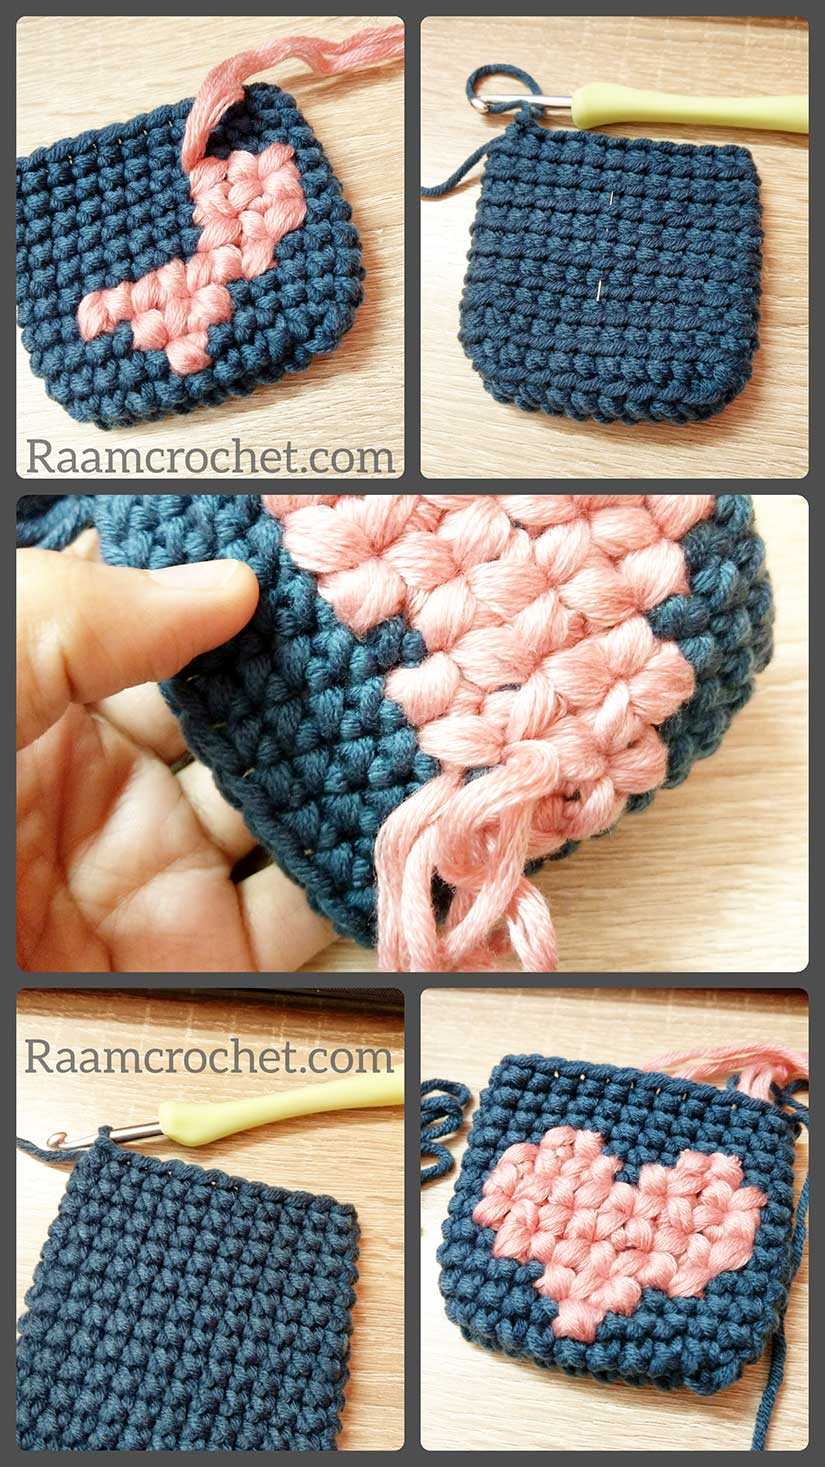
I used the cross stitch embroidery
For better results use double yarn for the embroidery
You can replace the cross stitch embroidery with the surface crochet to decorate your case.
Directions
Rnd 1: Ch 10, sc 2nd ch from the hook, sc in each st, 3 sc last st, we’ll be working on the other side of the beginning chains, sc in each st, 2 sc last st. Add more chains in the beginning for wider case.
Rnd 2: 2 sc, sc in each of next 7 sts, 2 sc in each of next 3 sts, sc in each of next 7 sts, 2 sc in each of next 2 sts.
Rnd 3: Sc in each st around.
Remaining rounds: Repeat round 3 until you reach the length you like for your case.
You can start working on your embroidery at this stage of your work or you can keep it for later, note that it’s easier to embroider as you go and not at the end.
Important note: Make sure you end up at the edge of the right side of the case. You might need to add more stitches or undo some to end up the right side (see pic). Do not FO.
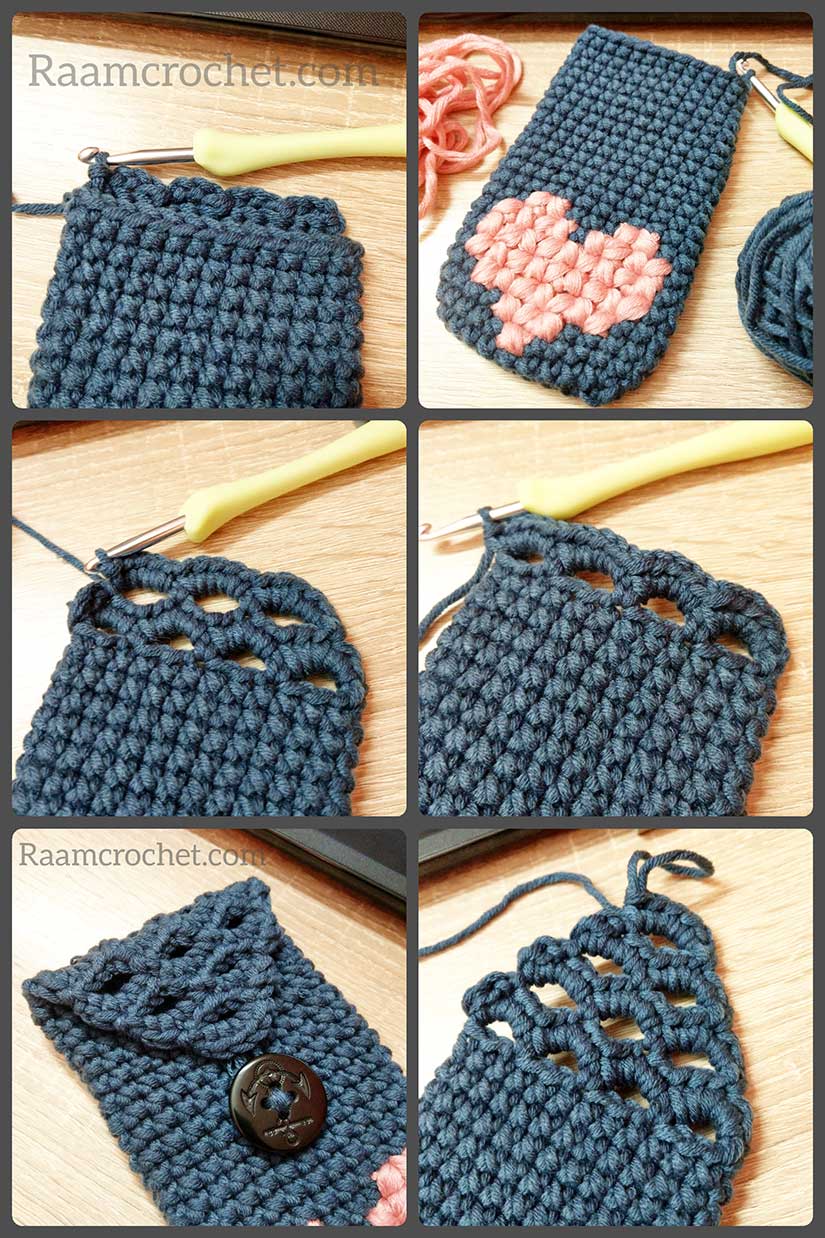
The Lid
The lid will be worked only on the half back side of the case.
R 1: Turn, *ch 3, skip 2 sts, sl st* repeat until you reach the left side of the case, add one more sl st.
R 2: Turn, 5 sc in each of next ch sps, replace the last sc with sl st instead. (we’ll have a number of arcs)
R 3: Ch 1, turn, skip next 2 sts, sl st FL next st, *ch 3, skip 4 sts, sl st* repeat until you reach the center of the last arc.
R 4: Turn, 5 sc in each of next ch sps, replace the last sc with sl st instead. (You’ll notice we’ve one less arc comparing to the previous one)
Remaining rows: Repeat R 3 and 4 until you end up with one arc on top. FO leaving 6 to 8″ long tail for the button’s loop.
Finishing
Using the needle with the remaining tail, make a loop in the center of the last arc making sure it fits your button.
Cut a new piece of yarn and use it to sew the button on the right place. You’re done!
Share your final products with us at #raamcrochet on any social media.
List of free English crochet patters
Terms of Use
Contact Us