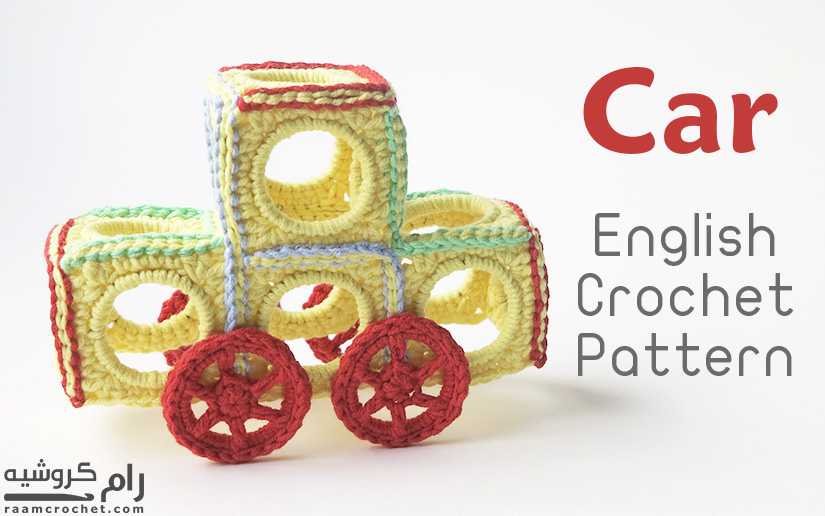
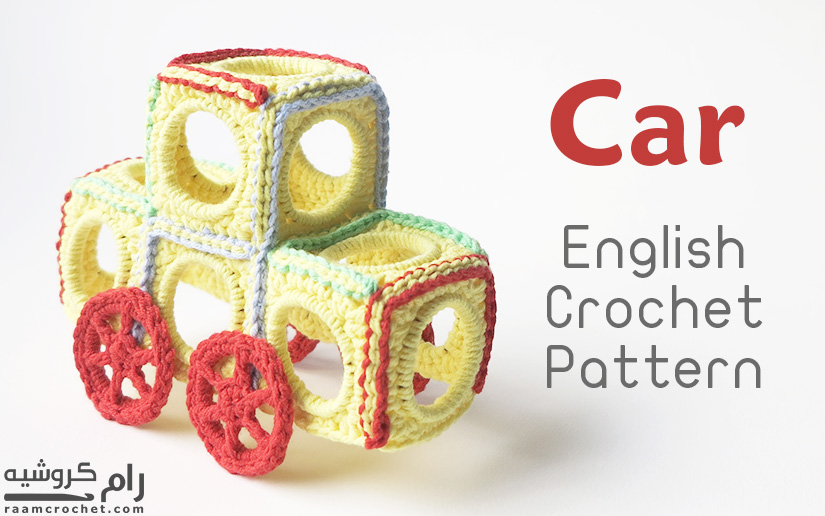
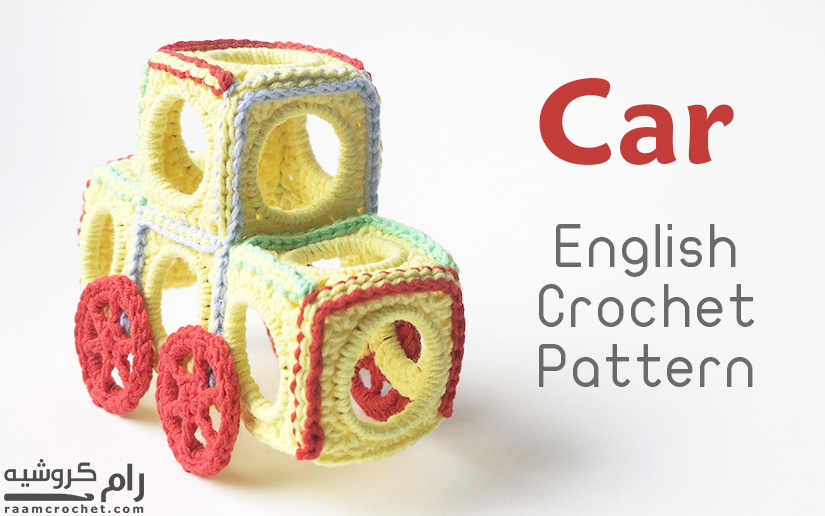
Today I’ll be sharing this very uniqe pattern of how to make crochet car toy using plastic rings. I discovered how useful those plastic rings are and began to collect them and design different pattern using those rings. Today will be this cute car.
Designer: Nada
Skill level: Intermediate
Size: Free
Materials:
Thin to medium thickness yarn with suitable crochet hook
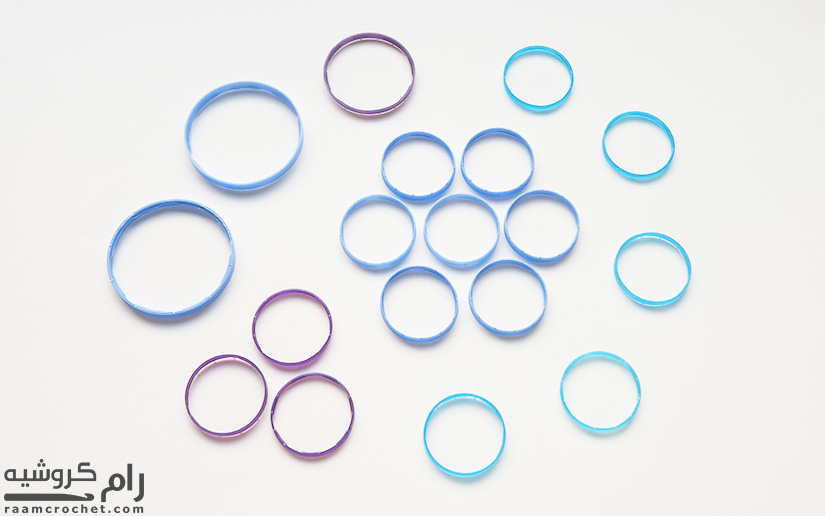
19 Small plastic rings from water bottle (the ones that located under the cap). You may want to add 3 more rings if you want to cover the under side of the car.
Needle
Terms:
MR – Magic ring
st – stitch
sl st – slip stitch
ch – chain
sc – single crochet
hdc – half double crochet
dc – double crochet
Special terms:
Invisible slip stitch/Invisible join
Notes:
* There’ll be two patterns, squares for the body of the car and circles for the wheels.
* We’ll need 15 squares and 4 wheels.
* Use the colors you like for each part of the car.
* We’ll be making each square and circle separately and attach them later by sl st or sewing as you’ll see in the pattern.
* I’ll show you how to adjust the patterns if it didn’t fit your rings.
Directions:
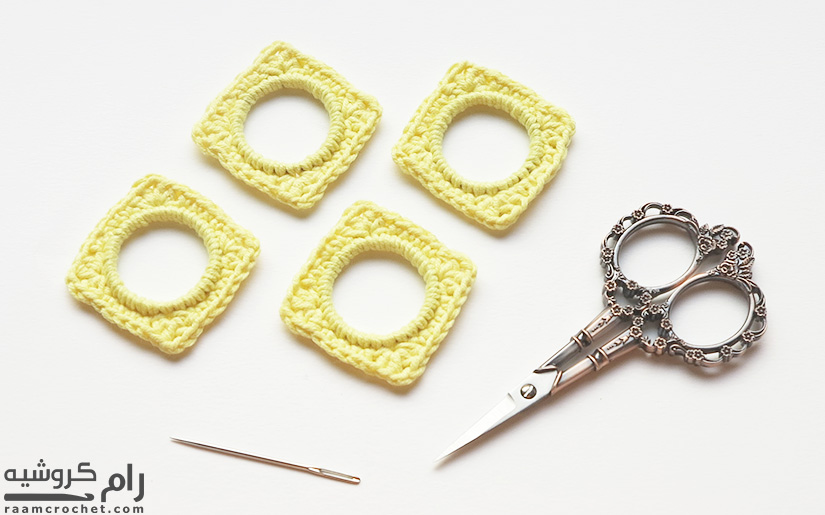
The squares pattern:
Make 15, FO and weave in all ends of each one.
Rnd 1: Slip knot, 28 sc around the plastic ring.
Rnd 2: Sc in each of next 2 sts, skip next st, [2 hdc, ch 2, 2 hdc] next st, skip next st,
*sc in each of next 4 sts, skip next st, [2 hdc, ch 2, 2 hdc] next st, skip next st* repeat 3 times,
sc in each of next 2 sts, sl st next st or invisible slip stitch. FO and weave in ends.
Resizing the squares:
You can increase or decrease the number of stitches as you need, make sure it’s multiple of 4.
Those stitches will be add or removed from the square lines. The angles pattern will remain the same.
The wheels pattern:
Make 4 wheels leaving 4 to 6″ long tail at the end of each one.
Rnd 1: MR, 6 sc in. (6 sc)
Rnd 2: Ch 3 (count as dc), 4 sc around the plastic ring, *dc next st in rnd 1, 4 sc around the plastic ring* repeat 5 times.
Rnd 3: Sl st each st except the dc stitch, skip all dc stitch. At the end sl st next st or invisible slip stitch. FO leaving 4 to 6″ ling tail for sewing.
Resizing the wheels:
You can increase or decrease the number of sc between the dc sts. Make sure it’s even between each dc.
You can replace the dc with hdc, tr or dtc.
Joining and sewing:
Join the squares by sl st using the outer loops of the squares. See this page.
Sew the wheels using the end tail of each one.
Your car is done!
Share your final products with us at #raamcrochet on any social media.
List of free English crochet patters
Terms of Use
Contact Us