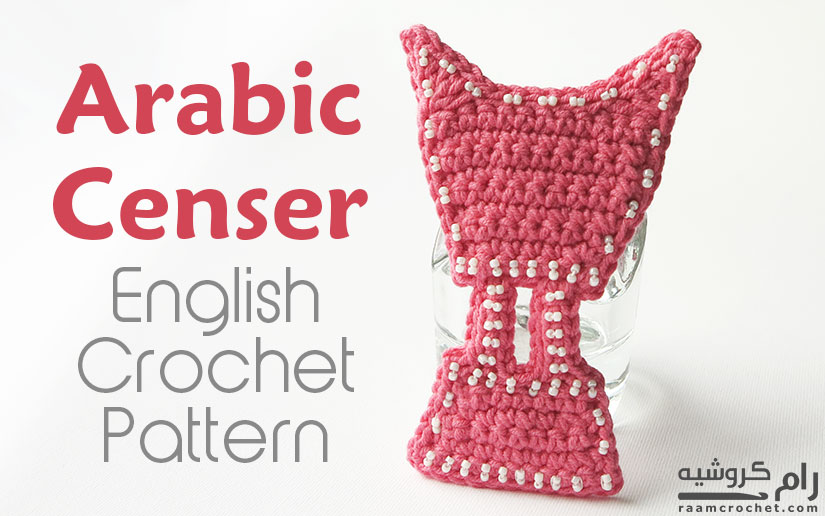
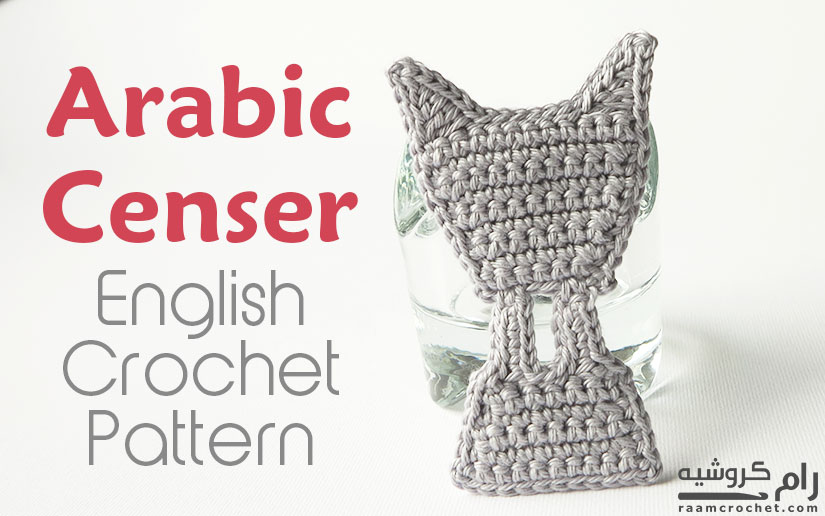
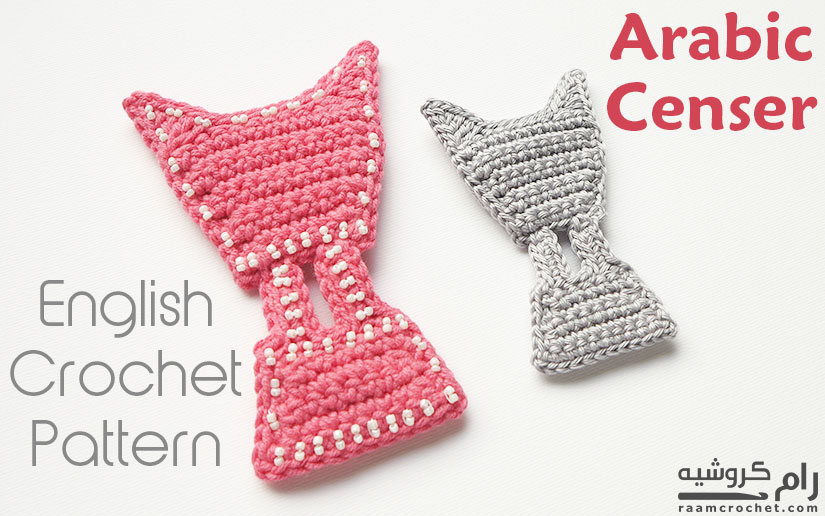
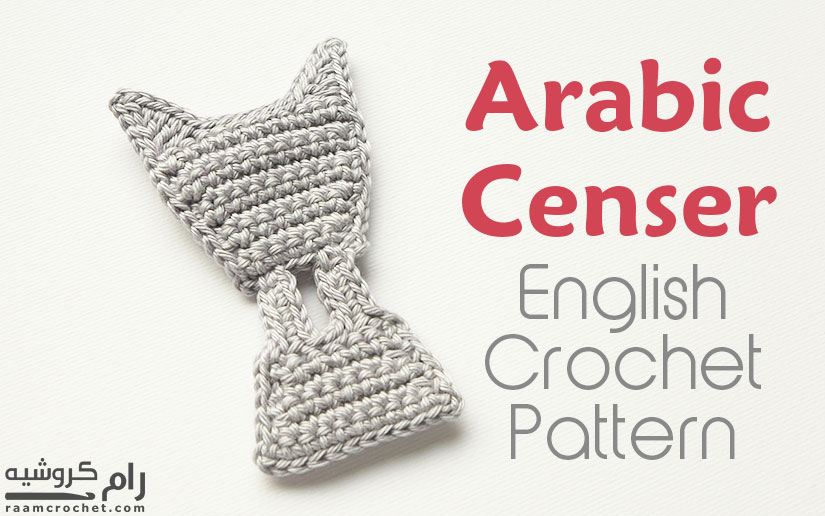
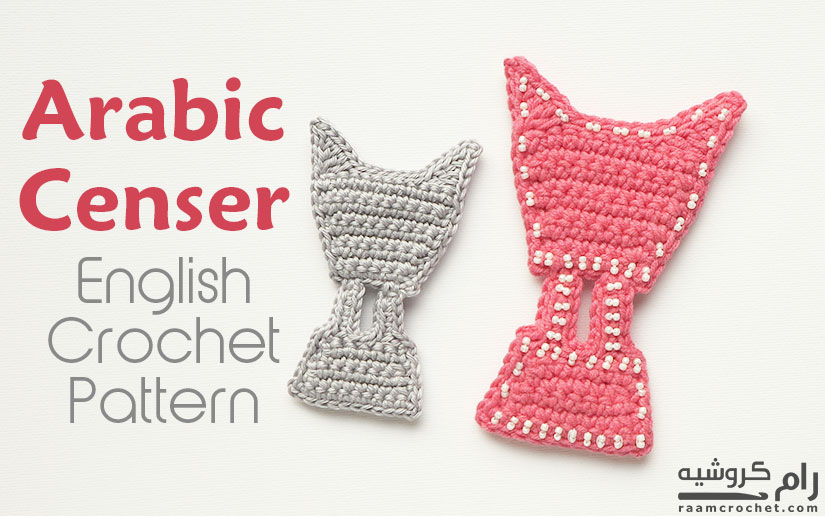
Crochet traditional Arabic censer that can be used as decoration or to hang and use as accessories. This censer you see is what we use in my country Saudi Arabia and other countries too. It can change its size and shape but still be used to burn special wood for its good scent.
Designer: Nada
Skill level: Easy / Intermediate
Size: Free
Materials:
Cotton yarn with suitable crochet hook
Needle
Beads (optional) I used sewing needle and thread to sew them
Terms:
st – stitch
sl st – slip stitch
ch – chain
sc – single crochet
hdc – half double crochet
dc – double crochet
sc2tog – 2 single crochet together
dc2tog – 2 double crochet together
Special terms:
Invisible slip stitch/Invisible join
Notes:
The pattern contain two parts that’ll be crochet separately then sewed together. The parts are the upper part and the bottom part. Each part’ll have two layers that’ll be attached together by slip stitching around them. Sew the beads at the end.
Directions:
Part one (the bottom part of the censer)
We’ll crochet two pieces of the pattern then join them together by slip stitching around them. Do not FO at the end of the second piece and complete with the joining instructions.
R 1: Ch 11, sc 2nd ch from the hook, sc each ch. (10 sc)
R 2: Ch 1, turn, sc2tog, sc in each of next sts. (9 sc)
R 3: Ch 1, turn, sc2tog, sc in each of next sts. (8 sc)
R 4: Ch 1, turn, sc2tog, sc in each of next sts. (7 sc)
R 5: Ch 1, turn, sc2tog, sc in each of next sts. (6 sc)
R 6: In this row we’ll crochet the to pillars.
Ch 1, turn, sl st next st, ch 5, sc 2nd ch from the hook, sc in each of next 3 sts, skip next st, sl st in each of next 3 sts, ch 5, sc 2nd ch from the hook, sc in each of next 3 sts, sl st next st. FO and weave in ends.
Repeat same steps for the second piece. Do not FO.
Joining the two bottom pieces together
To slip stitch, use one loop of each layer. If one layer have two loops, use the inner one. Do not turn in this part.
Put the two layers on top of each other right side out, making the working piece on top.
• Ch 1, 5 sl st evenly down next edge.
• Ch 2, sl st in each of next 10 sts of next edge.
• Ch 2, 5 sl st evenly up next edge.
• Ch 1, sl st in first st of next edge.
• Sl st in each of next 4 sts up first pillar, ch 1, sl st on top the the pillar, ch 1, sl st in each of next 4 sts down same pillar.
• Sl st in each of next 3 sts next edge.
• Sl st in each of next 4 sts up second pillar, ch 1, sl st on top the the pillar, ch 1, sl st in each of next 4 sts down same pillar.
• Sl st last st on same edge. FO and weave in ends.
Part two (the top part of the censer)
We’ll crochet two pieces of the pattern then join them together by slip stitching around them. Do not FO at the end of the second piece and complete with the joining instructions.
R 1: Ch 7, sc 2nd ch from the hook, sc in each st until the end of the row. (6 sc)
R 2: Ch 1, turn, 2 sc, sc in each st until the end of the row. (7 sc)
R 3: Ch 1, turn, 2 sc, sc in each st until the end of the row. (8 sc)
R 4: Ch 1, turn, 2 sc, sc in each st until the end of the row. (9 sc)
R 5: Ch 1, turn, 2 sc, sc in each st until the end of the row. (10 sc)
R 6: Ch 1, turn, sc in each st until the end of the row. (10 sc)
R 7: Ch 1, turn, 2 sc, sc in each st until the end of the row. (11 sc)
R 8: Ch 1, turn, 2 sc, sc in each st until the end of the row. (12 sc)
R 9: Ch 1, turn, sc in each st until the end of the row. (12 sc)
R 10: We’ll be making the upper part with the two triangles in this row.
Ch 5, sl st 2nd ch from the hook, sc, hdc, 2 dc, turn to complete working in row 9’s edge.
Skip next 3 sts, sl st in each of next 7 sts, ch 6, sl st 2nd ch from the hook, sc, hdc, dc2tog.
Skip next 2 sts of row 9, sl st in first st of the next edge. FO and weave in ends.
Repeat same steps for the second piece, except last sl st don make it. Do not FO.
Joining the two bottom pieces together
To slip stitch, use one loop of each layer. If one layer have two loops, use the inner one. Do not turn in this part.
Put the two layers on top of each other right side out, making the working piece on top.
• 9 sl st evenly down next edge.
• Ch 2, sl st in each of next 6 sts of next edge.
• Ch 2, 9 sl st evenly up next edge.
• Sl st in each of next 4 sts of first edge of first triangle, ch 1, sl st on top of the triangle, sl sl in each next 5 sts of second edge of first triangle.
• Sl st in each of next 7 sts, sl st in each of next 5 sts of the first edge of second triangle, ch 1, sl st on top of the triangle, sl st in each of next 4 sts of next edge of second triangle.
• FO leaving long tail to sew the upper part to the bottom one.
Finishing:
Use a needle with the remaining tail to sew the upper part to the bottom one.
Sew some beads if you like.
Share your final products with us at #raamcrochet on any social media.
List of free English crochet patters
Terms of Use
Contact Us
تعليقين على “Crochet Traditional Arabic Censer”
سلام عليكم
هوايتي الكروشية واحبها كثير واكثر شي التعليقات (المداليات) والاشياء الصغيره
وعليكم السلام ورحمة الله، أهلاً يا وردة.
وصلتي للمكان المناسب 🙂